アクリルキーホルダー用バックライト(大)の製作
投稿:2017-12-03
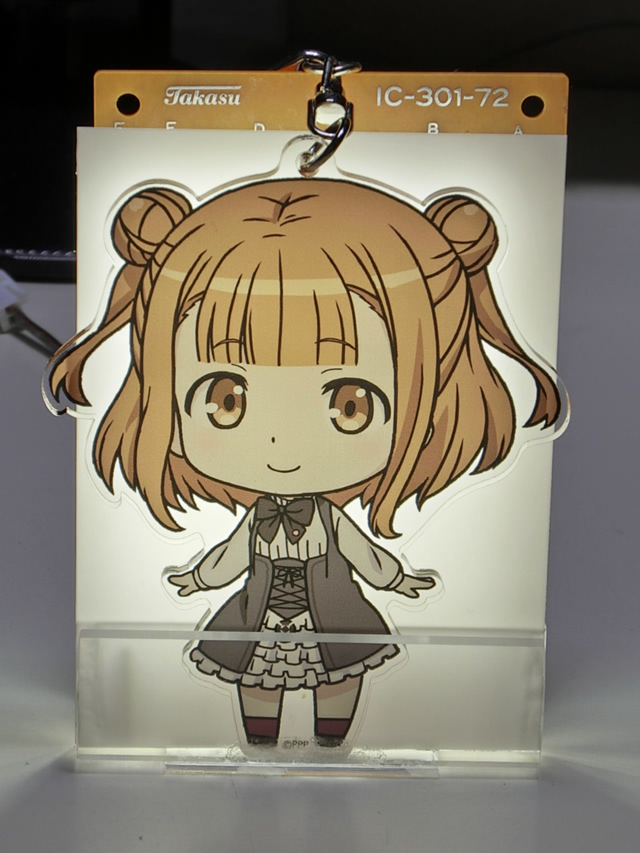
ベアトリスちゃんのアクリルキーホルダーをできるだけ綺麗に見たい。
別のバリエーションはこちら。
別のバリエーションはこちら。
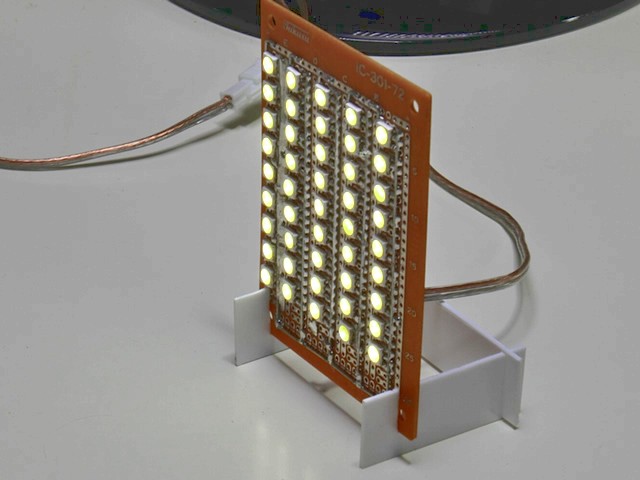
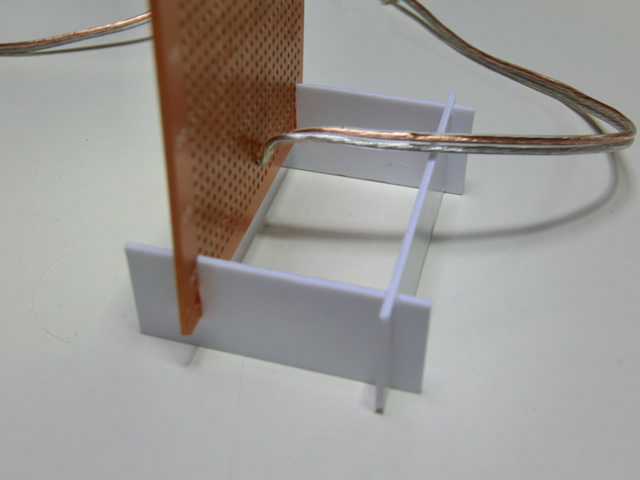
タミヤのプラ板を井桁に組んで基板を差しました。
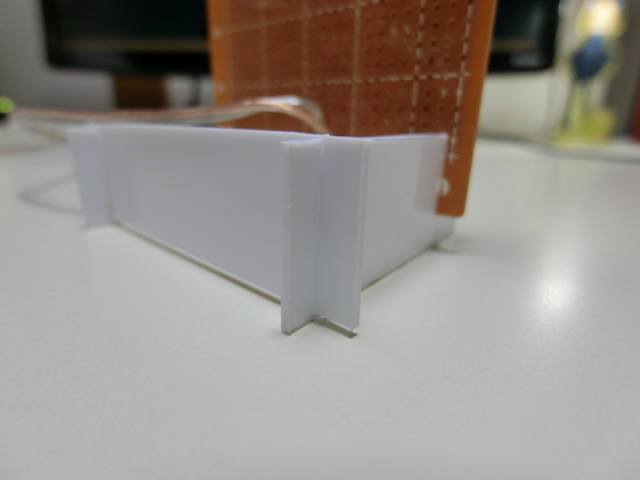
 後ろから見た図。
プラ板が交叉する所にプラモデル用接着剤を流し込んであります。
後ろから見た図。
プラ板が交叉する所にプラモデル用接着剤を流し込んであります。
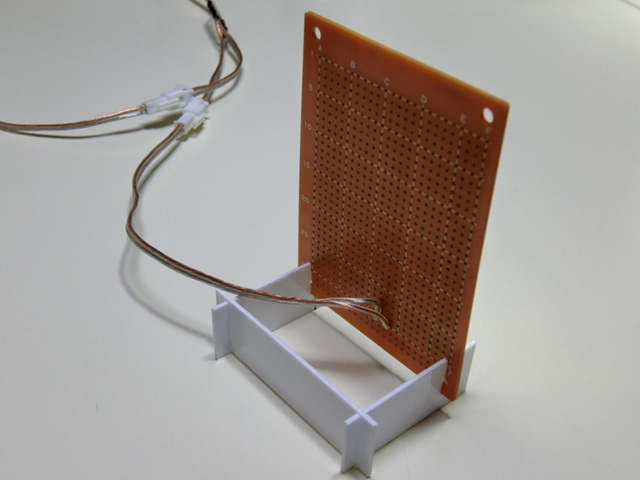 シンプルな構造ですが安定してます。
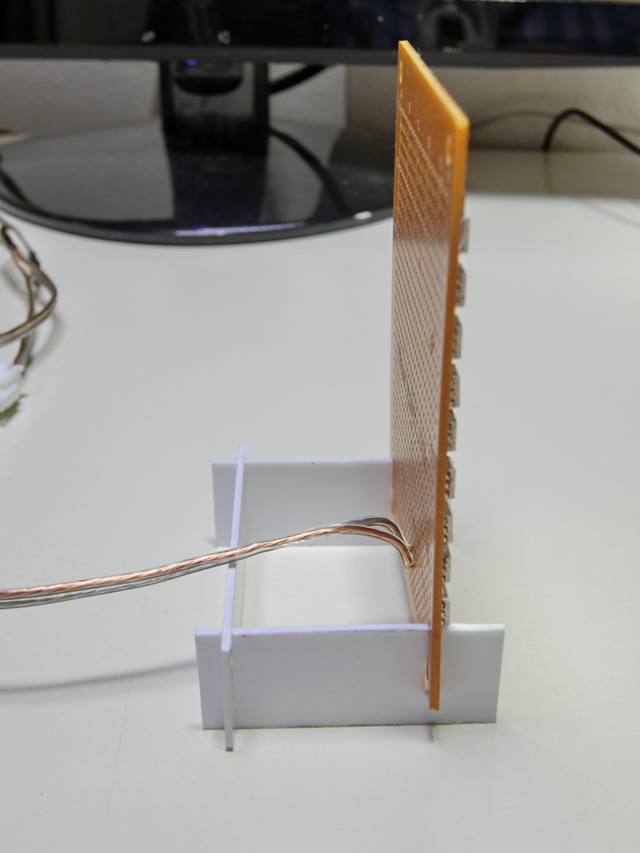
 アクリルキーホルダーの台は後ろに底板が伸びているためLED基板をテーブルから離してその間を通しています。
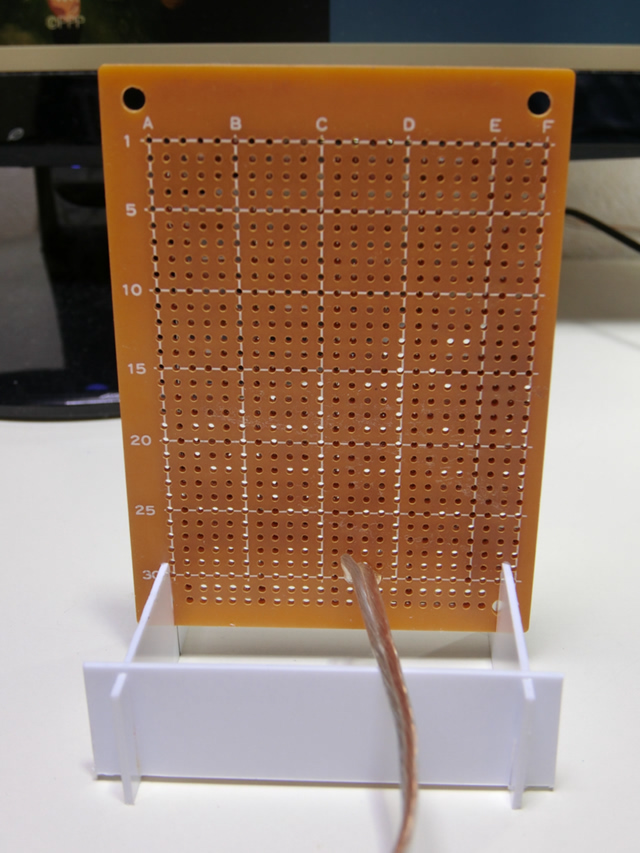
 交叉部分は、それぞれのプラ板に半分ずつ切り欠きを作り嵌め合わせています。
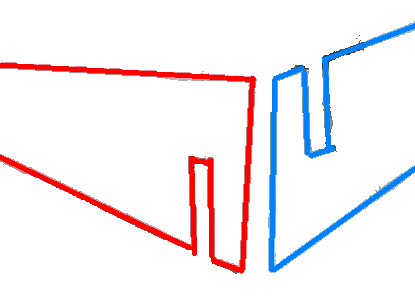
 図解はこんな感じです。
後ろから見た図。
プラ板が交叉する所にプラモデル用接着剤を流し込んであります。
シンプルな構造ですが安定してます。
アクリルキーホルダーの台は後ろに底板が伸びているためLED基板をテーブルから離してその間を通しています。
交叉部分は、それぞれのプラ板に半分ずつ切り欠きを作り嵌め合わせています。
図解はこんな感じです。
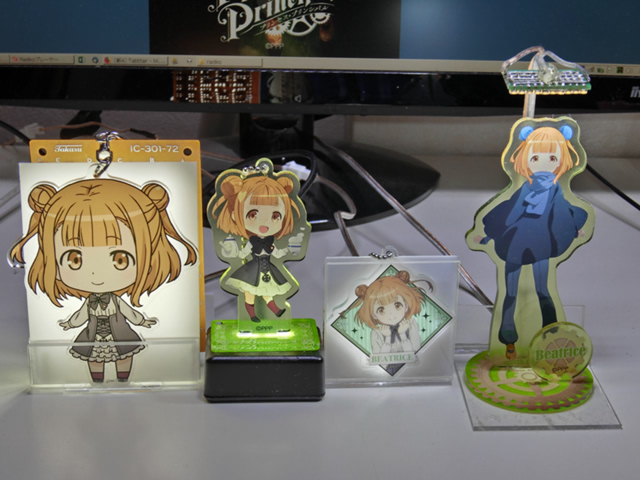
尊い。
 このシリーズ全員集合(幸せ~♪)。
このシリーズ全員集合(幸せ~♪)。